I've been really busy with school lately, but now I can finally relax and get some art done! So basically I've been working on my 3D design project non-stop. Remember that little four-legged bugger I made out of clay? I made a silicone mold of him and have been casting copies out of plaster for about two weeks now.

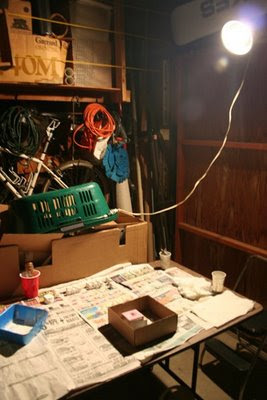
My work station/garage

(1) pour wet plaster into mold and wait for it to set

(2) gently take top mold off
(3) gently remove both bottom molds and then
touch up figure by trimming off seams.
(4) wash mold. Put mold back together and repeat.
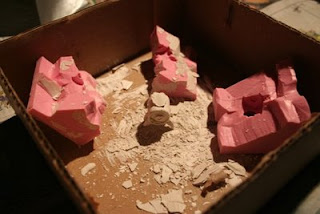
Making the mold was a pain, and a lot of my little plaster buddies got destroyed or amputated during the first few attempts of casting and perfecting my mold. I ended up making a three part mold, which works fairly well. The only trick I faced was waiting for the plaster to set. Take apart the mold too soon and your casted figure with crumble or break. The only draw back with waiting too long is that you waste time, but its better to wait out that extra 10 minutes than to open your mold and have the figure that took you 15-20 minutes to set break. Since most of my figures were casted at home, I was able to give 40 minutes per cast, sometimes I would get too preoccupied with something else and let my plaster set for an hour.

this is only a handful... I have more.


 My work station/garage
 (1) pour wet plaster into mold and wait for it to set
 (2) gently take top mold off
 (3) gently remove both bottom molds and then
 this is only a handful... I have more.

plaster caster, plaster caster, PLASTER CASTER!!
ReplyDeletei like how you composed the last shot in a way that we can witness your growing army of worm segments while checking out last weeks funnies
ReplyDeletehaha yup. It was a good idea to cover the table with the funnies since setting up the mold and touching up figures gets so monotonous and boring, I can just glance over and read some comics while working.
ReplyDelete